General Information:
Release Date: June 2020
Price Point: $19.99 (depending on retailer)
Retailer: Online Exclusive (BigBadToyStore, Entertainment Earth, Hasbro Pulse etc.)
Accessories: Blaster halves x 2, Gas Pumps/Weapon, Gas Station Sign
Images and text in italics below are from Hasbro Pulse.
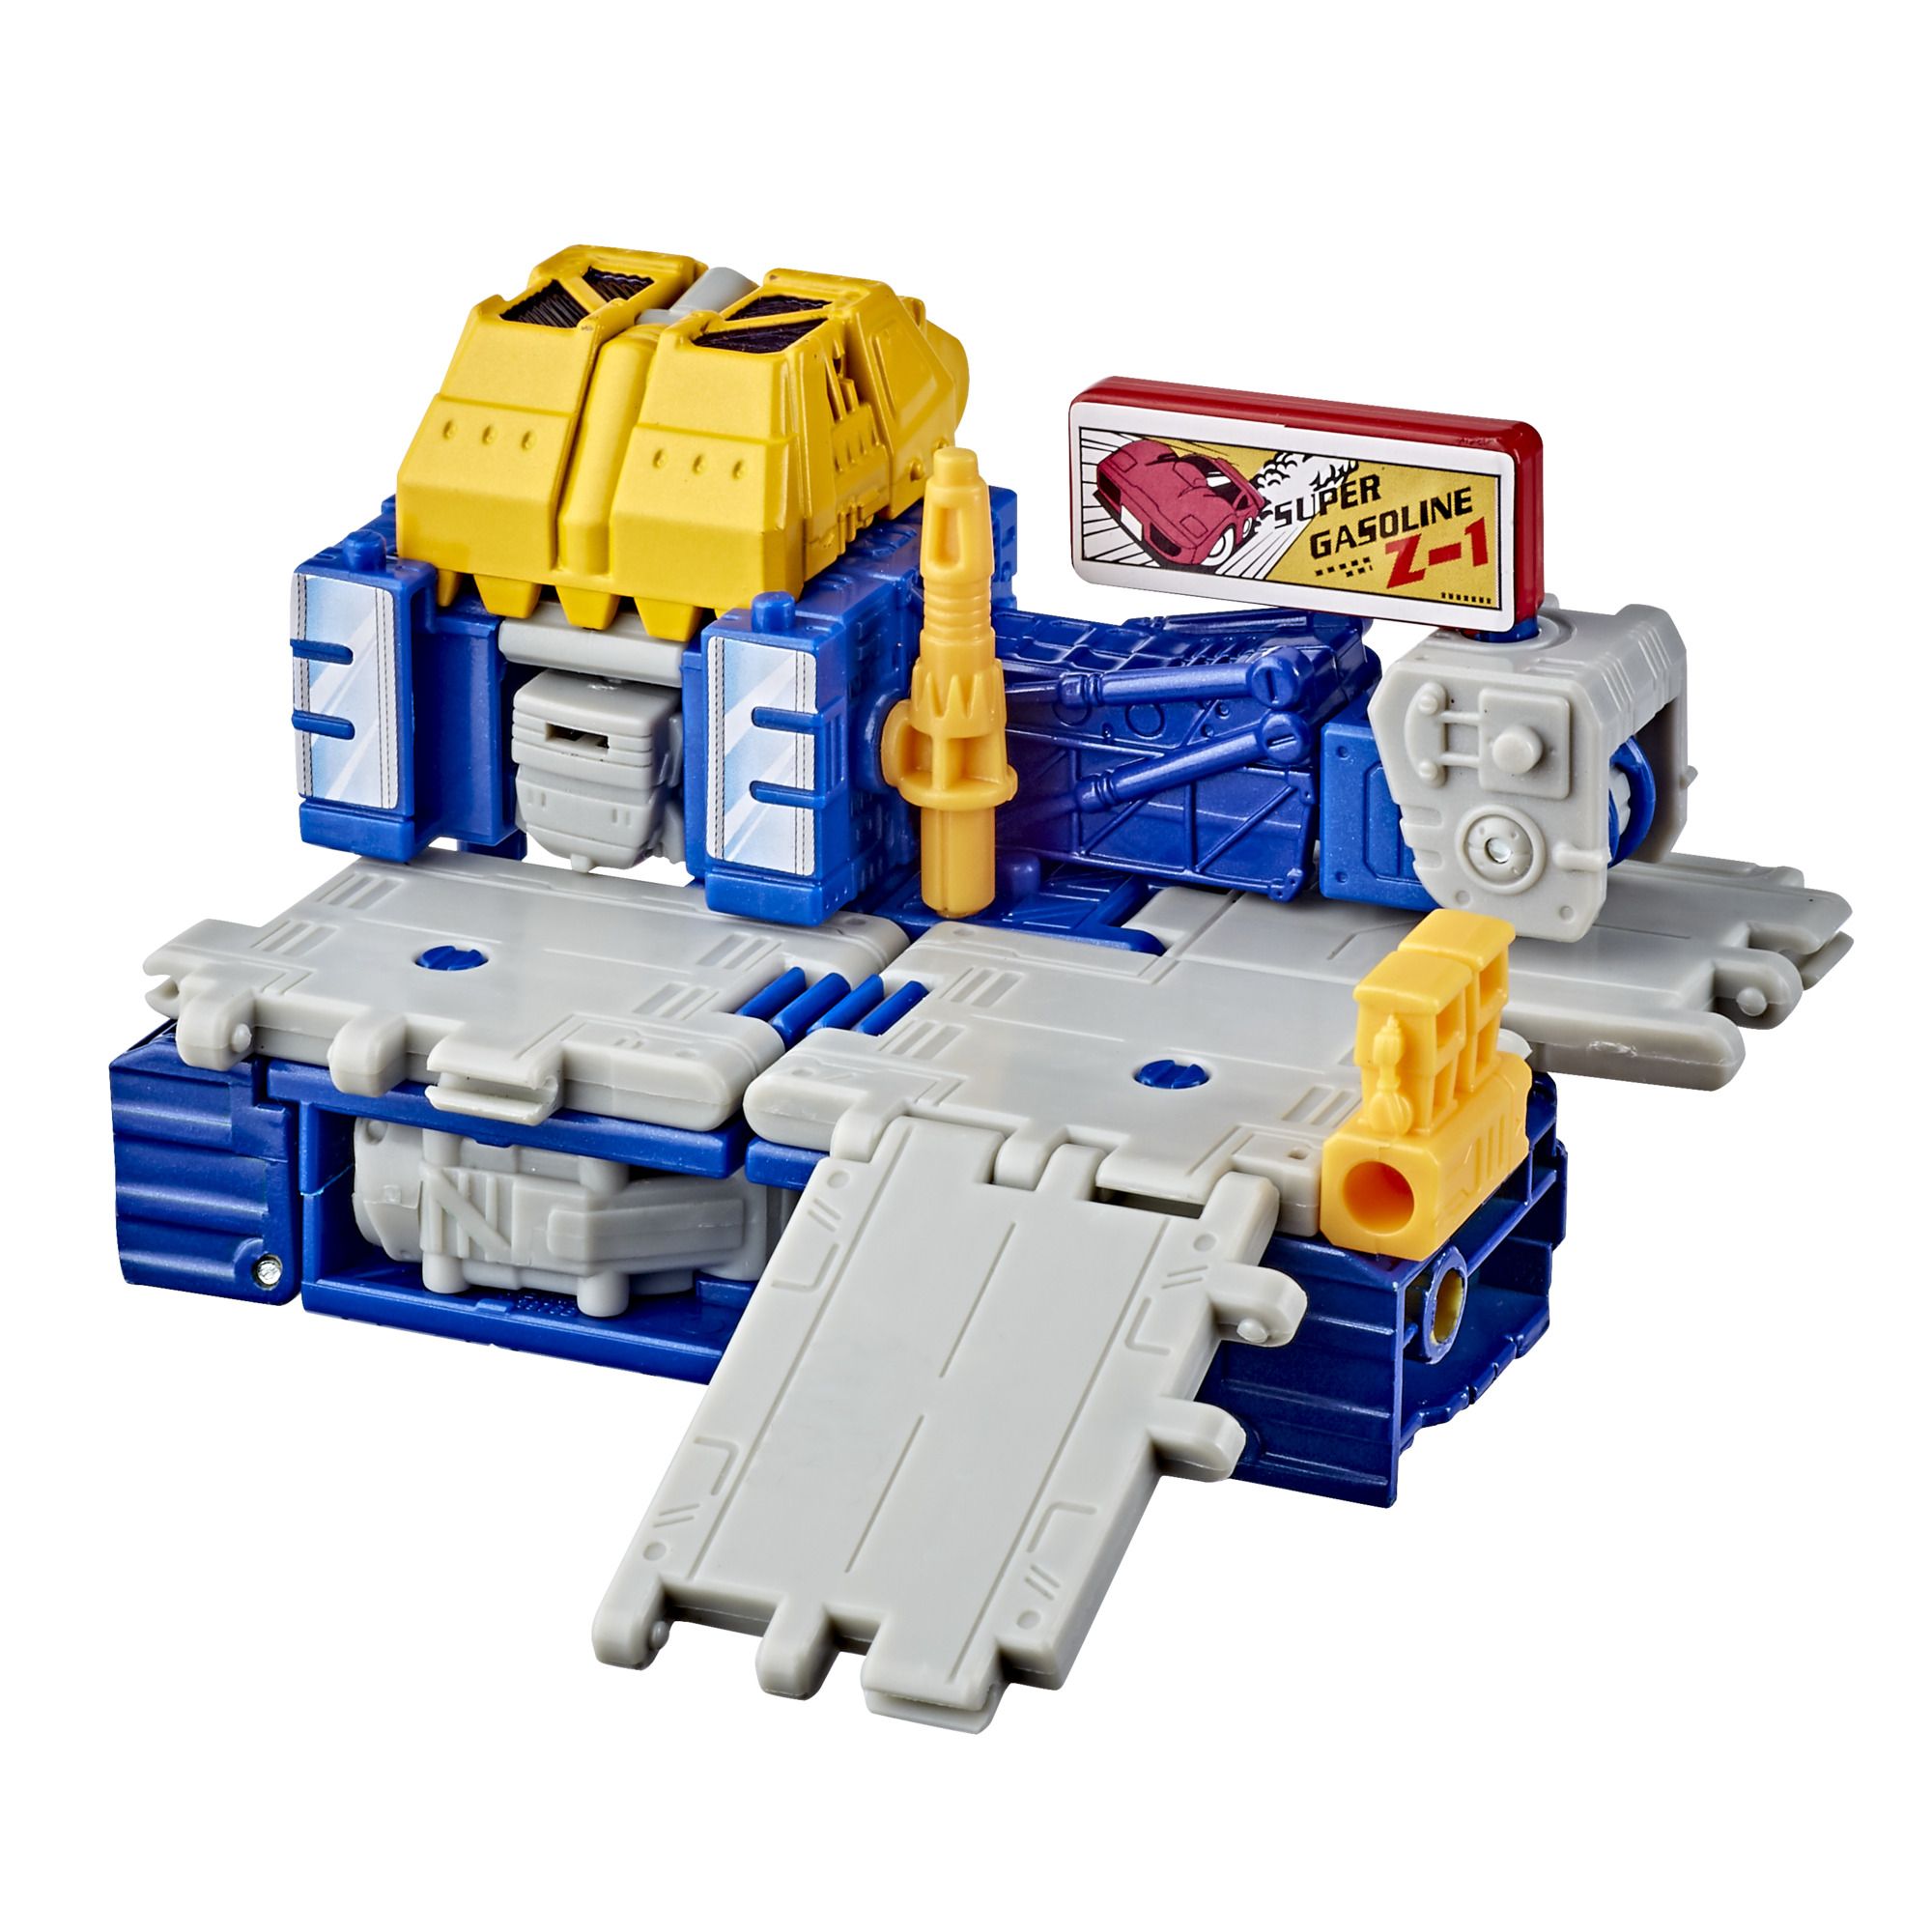
This special edition WFC-GS12 Greasepit figure is inspired by the 1989 Micromaster gas station toy that was included with the Micromaster Greasepit toy. Paying homage to the original toy release, this figure comes with a "Super Gaoline Z-1" sign that can be attached to any of its battle station configurations. The figure disassembles in 11 steps and reassembles into battle station modes in 12 and 16 steps. Comes with a blaster accessory that can attach to the figure in robot and battle station modes.
Includes Generations Selects Deluxe Class Greasepit figure, accessory, and instructions.
- Generations Selects is a fan-dedicated line of figures featuring special edition characters that can’t be found in the main line
- This figure is inspired by the 1989 Micromaster gas station toy that was included with the Micromaster Greasepit toy. Includes a "Super Gasoline Z-1" sign inspired by the original station
- This Greasepit figure can be disassembled and reassembled into a battle station mode inspired by the look of the 1989 Micromaster gas station toy and other battle station configurations
- This Greasepit figure disassembles in 11 steps and reassembles into Battle Station modes in 12 and 16 steps
- Figure scale: 5.5 inches
- Ages 8 and up
- WARNING: CHOKING HAZARD - Small parts. Not for children under 3 years
In 1989, four Micromaster bases were released by Hasbro. These four bases were all roughly the same size and each included a Micromaster character. Each of these bases could change from a common structure (a construction site, a gas station etc.) into a structure capable of combat. One of these bases was manned by a Micromaster named Greasepit. This base transformed from a gas station into a tower of weaponry. Decades later, Greasepit is apparently now the base as no Micromaster Greasepit has been released so far and this base is clearly named "Greasepit" on the packaging. This figure is a redeco (with one swapped out part) of Ironworks, so check out that review too. This review will focus on the changes made to the figure for this release.

Packaging & Accessories:
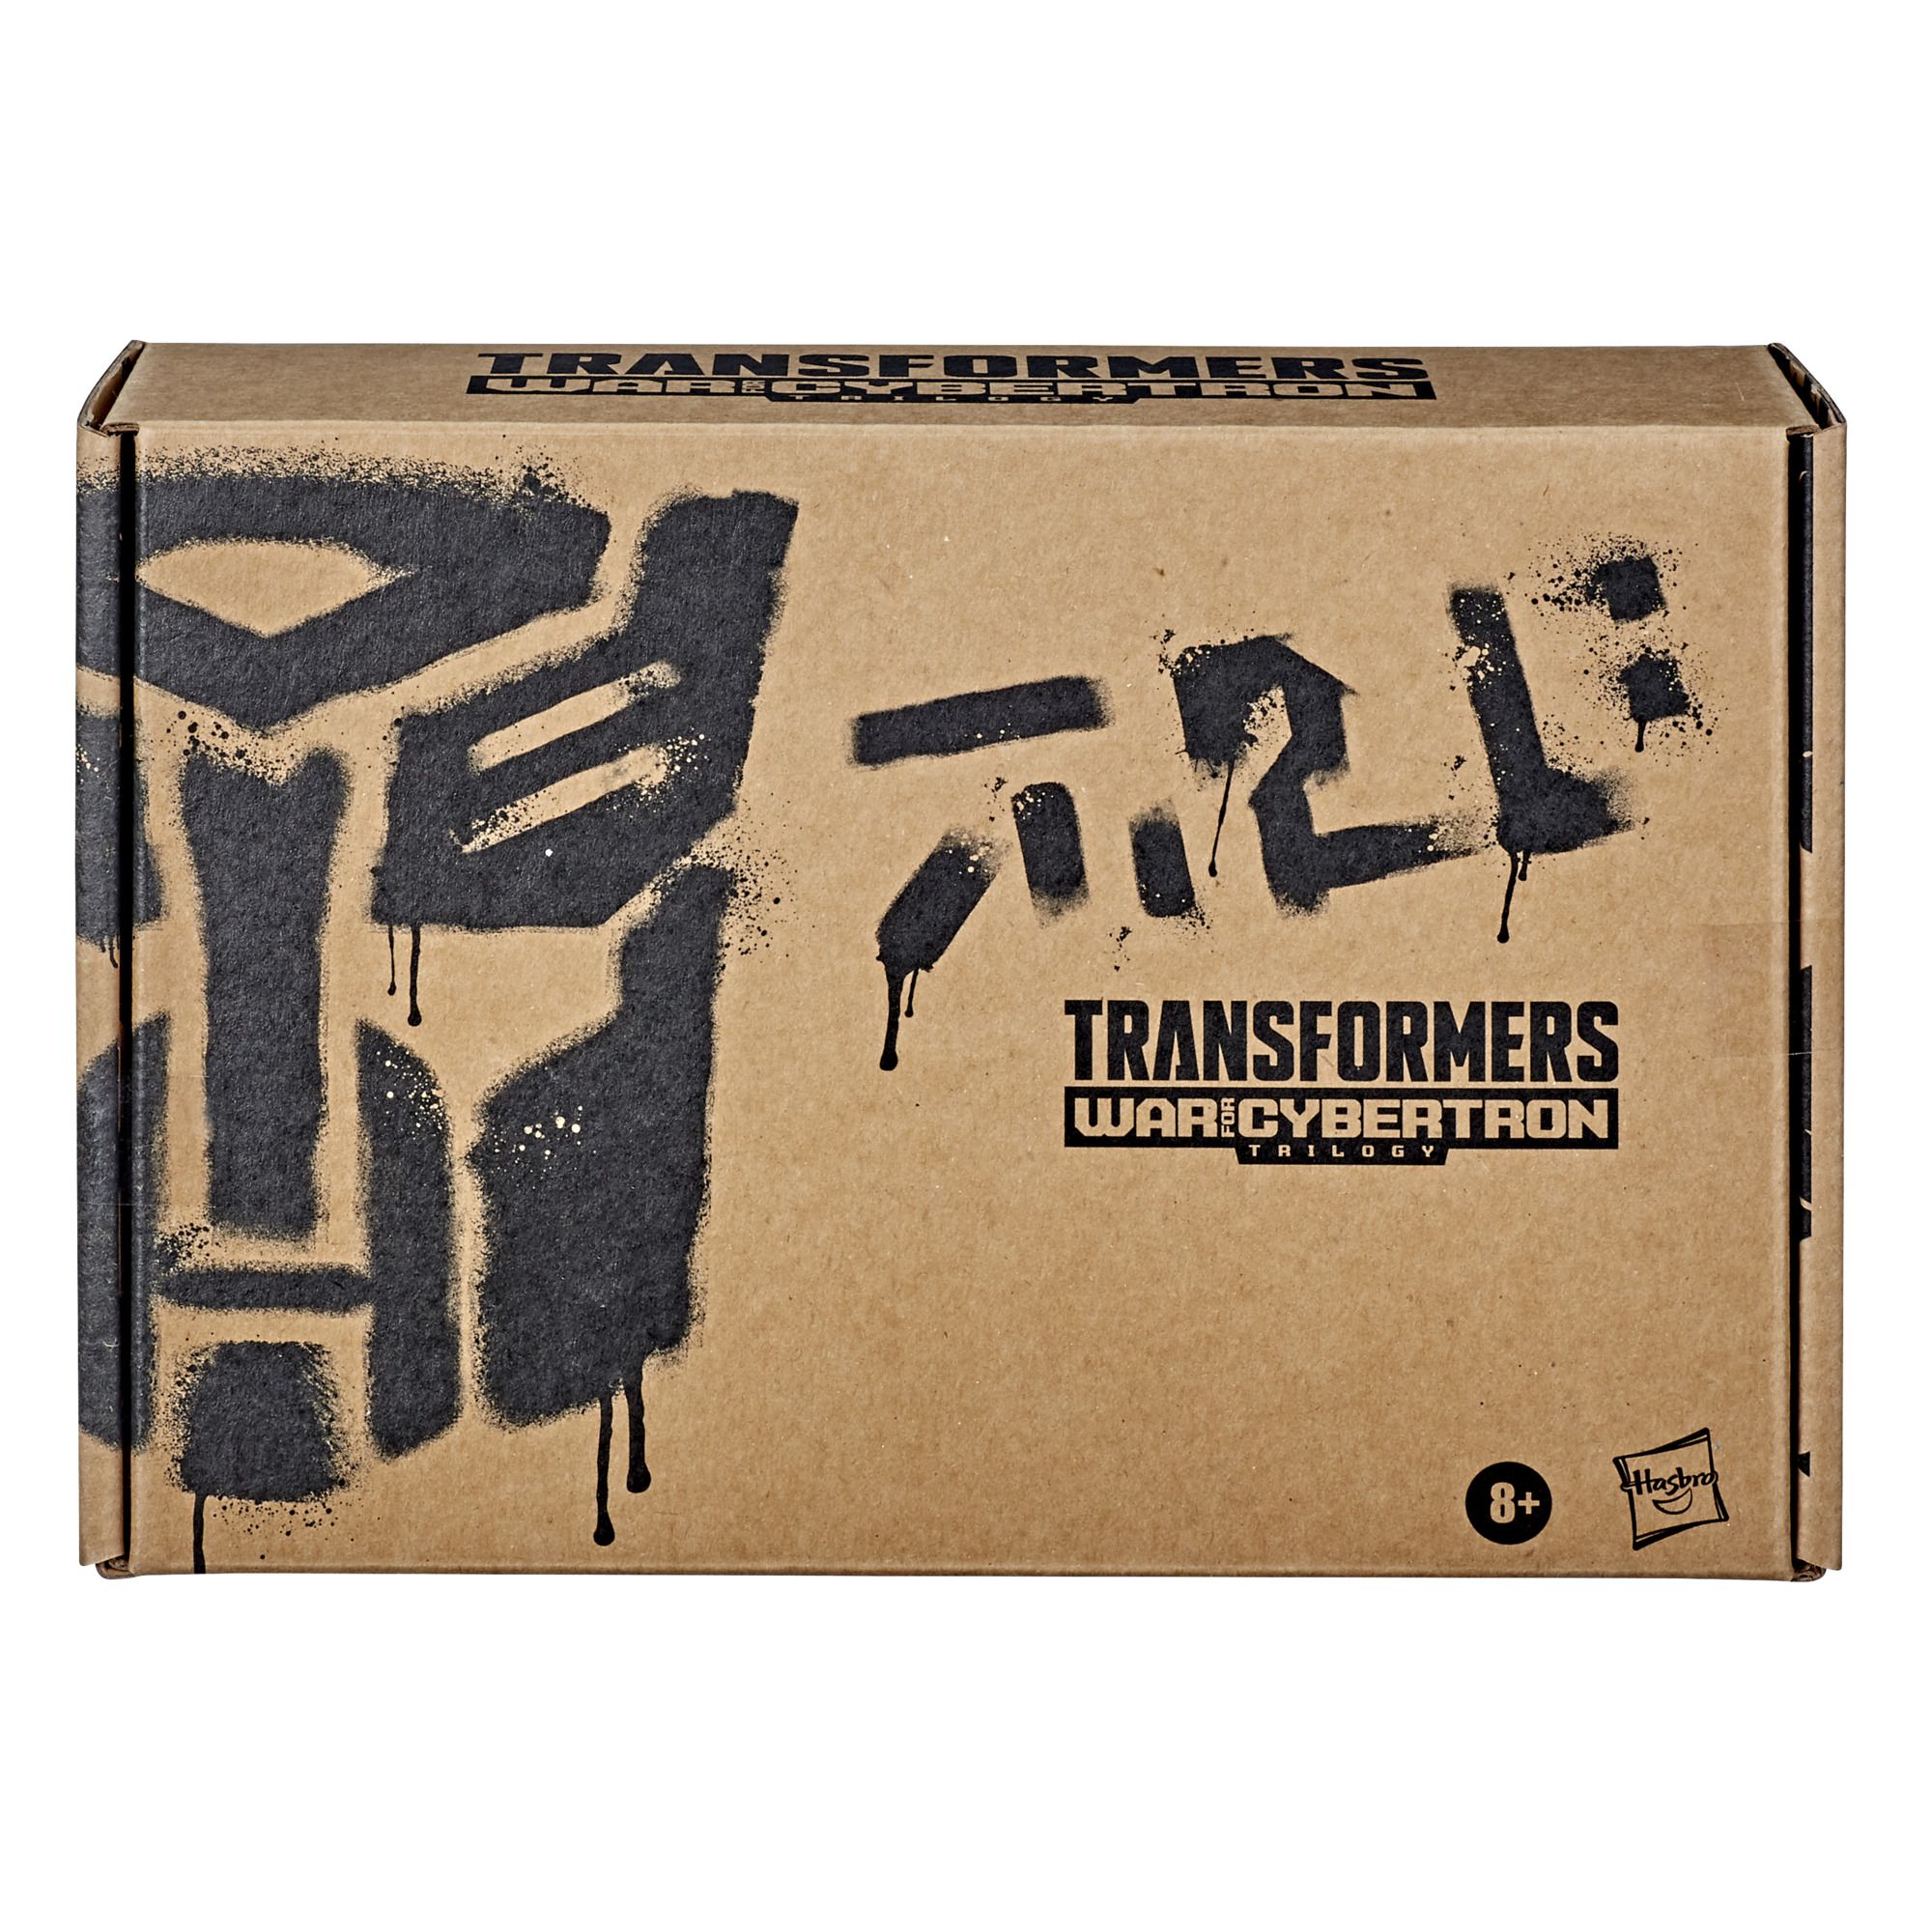
Greasepit is packaged in a standard brown cardboard Selects box. A label with his name and legal information on it seals the box shut. Slice along the edge and the box opens up revealing a printed pattern inside including a symbol representing Greasepit's rank. The figure itself sits in a plastic tray with the instructions underneath.
This figure includes the same blaster weapon as Ironworks, but the other accessory has been swapped out. Where Ironworks had a crane hook, Greasepit has a pair of gas pumps, a callback to the G1 Greasepit's base. This piece has a 5mm peg that allows it to attach to his wrist to serve as a blaster weapon. One end even has a 3mm peg for Blast Effects! I was really happy to see this piece as a hook really would not have made much sense for Greasepit. This figure also includes a red, rectangular gas station sign complete with a retro looking sports car on it and the phrase "Super Gasoline Z-1", a direct reference to a sticker on G1 Greasepit!

Robot Mode:
Greasepit's base in G1 did not have a robot form, so this form is wide open to interpretation in this modern version of the character. Of course, this is a straight up redeco of Ironworks and that is fine by me. It implies the Modulators came from a line of standard designs and then perhaps chose their affiliations after the fact. Like Ironworks, Greasepit winds up looking chunky and powerful, which is appropriate for a robot that becomes a base. Presumably in the fiction Greasepit here would transform into a fairly giant robot towering above others on the battlefield (but likely not quite as large as say, a Titan).
Taking its color cues from G1 Greasepit's base, this modern version of the character is mostly made up of blue, grey and yellow plastic. Paint helps fill in more yellow, some gunmetal grey on the chest and some red on the accessories. A bit of blue is used for the eyes, which is an interesting choice as Decepticons generally had red eyes in the G1 animation (but that is hardly a concrete rule nowadays). The deco is a really nice combination of colors on its own, but the homage to the original Greasepit base is most appreciated.
All twenty two points of articulation on this figure are solid, so no issues from being another use of this tooling (so far). His left hand has a 5mm port in the fist while the right forearm has a 5mm port in it since there is no hand on that side. In addition there are two 5mm ports on the shoulders, two on the lower legs and two under the feet. There are also four pegs to attach Blast Effects. Two are located on the torso near the shoulders. Another is on the right shoulder while the other is on the left forearm.
Transformation to Base Mode:
- Detach the blaster pieces, gas station sign and gas pumps and set them aside for now.
- Detach the arms and set them aside for now.
- Detach the legs and set them aside.
- Detach the ramp on the back.
- Holding the torso, pull out the ramp section attached to the hip section.
- Turn the robot head around and push it back.
- Take the left arm and swing up the grey shoulder peg. Then swing the forearm up against the upper arm.
- Straighten out the right arm and rotate the forearm.
- On each leg, swing the thighs into the back of the lower legs.
- Line up the leg pieces so the openings at the knees meet each other.
- Attach the right arm module to the ports on the robot mode knees, holding them together.
- Take the module with the hip piece and attach it to the right arm module.
- Split the blaster in half. Attach the back end of the blaster to the peg on the back of the torso piece. Attach the front of the blaster to the right shoulder port.
- Attach the torso piece to the 5mm port on the blue portion of the right arm module.
- Attach the left arm to the hip/ramp section.
- Attach the gas station sign to the left arm.
- Connect the gas pumps to the right side edge of the base.
- Attach the ramp to your preferred connection point.

Base Mode:
The base mode is (not shockingly) a variation on Ironworks' base form, but I do applaud the designers for finding an alternate arrangment for the parts. Instead of having the arm act as a crane, here it acts as an...um...building or something? And having the sign on top of it was a nice touch. I also appreciate the window tampographs on the sides of the main building. It is a nice attempt to pay homage to the store front sticker on the original Greasepit's base. The colors also work nicely together, with the yellow and red popping against the blue and grey.
While I have had fun with Modulator base modes and I really appreciate the effort that went into recycling the Ironworks sculpt into a gas station, it does not quite hit the mark. The large square "building" made of the torso looks like it is missing a piece in the middle, and the gas pumps are just kind of hanging off the side of the base like they are going to fall off. This mode can be fun to play with and connect to other bases for sure, but the G1 base was far more successful in creating a "real world" gas station.
That said, Greasepit does have five to six potential connection points to attach other ramps and bases. This gives him potential to be a part of a much larger base, and that is one of my favorite play patterns from G1 so I am happy to see it in the line again.
Transformation to Tower Mode:
- Transformation to Tower Mode (Starting in Base Mode):
- Separate all the modules from each other including the blasters and ramp.
- On each leg module, swing the grey panels out and down.
- Connect the grey panels on the legs to the single ramp piece.
- Attach the ramp piece with the hip connectors on it to the ramp piece holding both legs together.
- Connect the two halves of the blaster together, then attach it to the crane arm.
- Attach the left arm to one of the hip joint pegs.
- Swing the front of the torso out to reveal a bucket arm. Then push the bucket against the torso with the inside of the bucket facing upward.
- On the top of the tower, flip up the 5mm peg from the torso section.
- Attach the left arm module to the peg on top.
- Connect the two halves of the blaster and attach them to the arm at the base of the tower.
- Attach the gas station sign to the side of the arm at the base of the tower.
- Connect the gas pumps to the other hip/thigh piece at the base of the tower.
*Note: The feet from the robot mode can face front or back in this form. It really does not affect the transform and final product one way or the other.
Tower Mode:
This tower mode is mostly the same as the one Ironworks can transform into. The main differences are the weapons and accessories at the base and most importantly: the ability to attach the additional arm/platform at the top! You may recall that Ironworks appeared to have a defect where the port and peg on the top of the tower mode would not connect properly. Hasbro apparently picked up on this and they fixed it with this sculpt, thank goodness! The arm that forms a platform on top now attaches to the peg properly and I am happy to see the change!
This mode is all sorts of fun because of its potential. You have several pegs and ports to attach additional accessories. The "bucket" on the tower fits a Micromaster and you can technicall still attach the ramp at the base to another ramp, so he doesn't have to be standalone but rather he can potentially be attached to a larger base system. From a play pattern perspective, I really dig this mode.
Transformation to Bridge Mode:
- Disassemble all the pieces of the figure.
- Put the two lower legs together.
- Using the two pegs on the torso piece and plug them into the ports on the front of the lower legs to hold them together.
- Swing the peg on the chest panel down.
- Attach the arm without the ramp connection point on it to the peg, acting as a pylon for support.
- Connect both halves of the blaster together and then attach it to the right side peg on the robot torso piece.
- Raise both ramps on the lower leg pieces.
- Attach the gas station sign to the gas pumps, then attach that to the raised ramp that is on the same side as the blaster weapon.
- Attach the ramp piece with the hip joints on it to the other ramp.
- Attach the remaining ramp to the previous one, then attach it to the other arm folded up in its "platform" configuration.
- Swing the thighs out from the lower legs.
Bridge Mode:
There is no official text describing this mode. The instructions just kind of tell you how to do it and leave it at that. It looks like a bridge to me, but I honestly am not sure if that was the intent. Either way, this mode is...certainly a thing. I think it works best as a connection point between two other bases, but on its own it looks rather odd, especially since the hip piece drags the middle part down. I guess this could also be a ramp...maybe? Let's just say while I appreciate the effort, this mode is not my favorite.
Armor Mode:
I think the concept of having the Modulators form armor for other figures is a fun one, but unfortuantely you have to choose very specific figures to make it viable, especially for the foot armor. Often there is not enough clearance for the feet to fit the armor properly. In this respect Weaponizers "did it better". I still think this is fun in concept, and if you can find a figure sized correctly to allow the armor attachments it's really cool. Generally smaller figures seem best for this.
Final Thoughts:
I really like the Ironworks figure and in some ways Greasepit improves upon it (especially fixing the issue for the top of the tower mode). This is a fun toy and pays homage to one of my favorite eras of G1. Recommended!
Pros:
- Cool and original design for an old character.
- Fun play value.
- I am happy the hook was swapped out for the gas pumps.
- They fixed the port on the arm for the tower mode!
Cons:
- The gas station mode needed something more to really give it an "authentic" look (perhaps one additional accessory/panel for the store front section).
- The Armor mode(s) are not all they're cracked up to be with most larger figures.
